
Retro mode
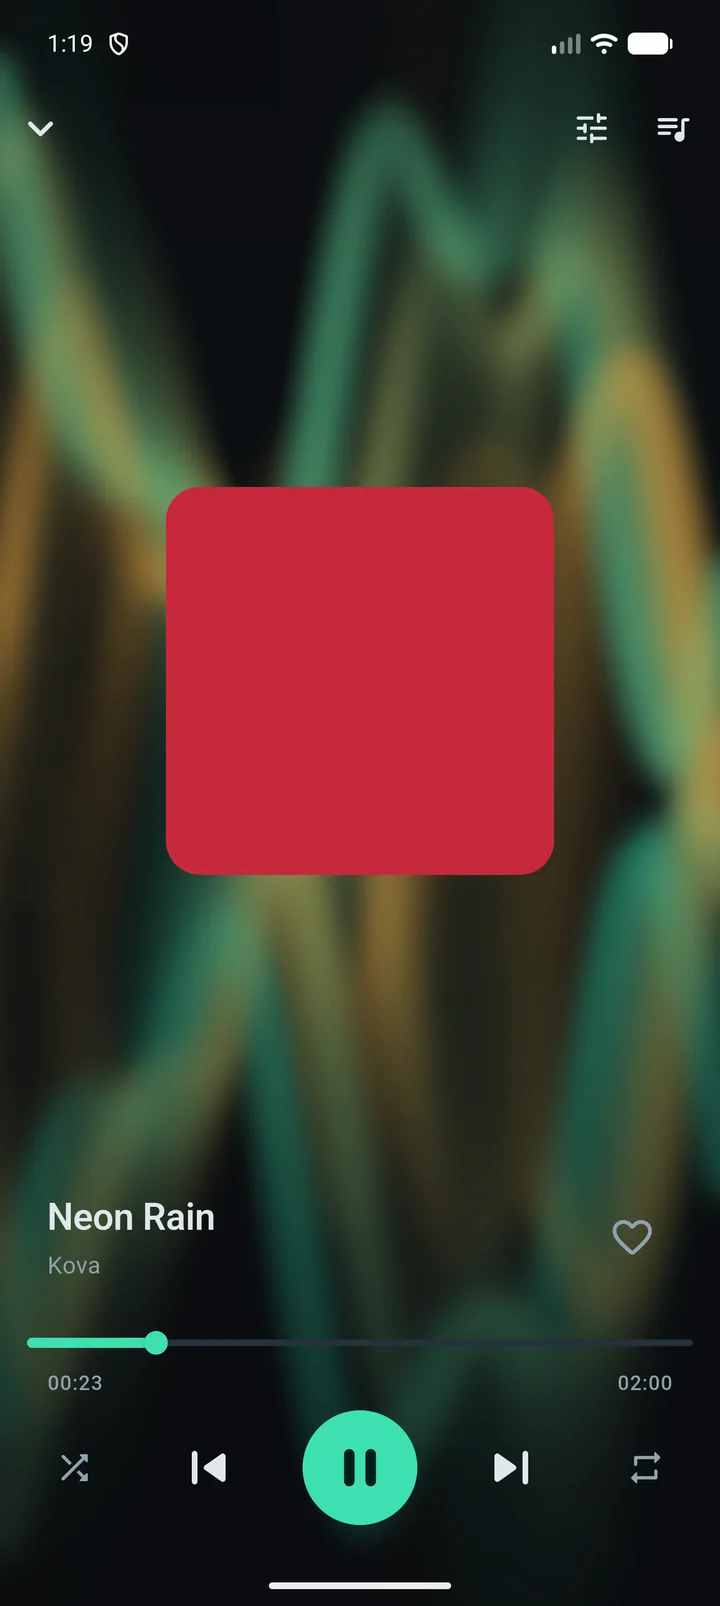
Retro mode gives RetroBeat a Windows Media Player look, with an XP-era visualisation moving behind the player.
Turn it on
Open Settings and scroll to Appearance.
Turn on Retro mode.
Play a song and open the full player. The visualisation fills the player.
Retro mode has its own colours, so Dark mode cannot be changed while it is on. Turn Retro mode off to choose light or dark again.
Pick a visualisation
Tap the visualiser in the player to move to the next one, or choose one under Visualisation in Settings.
| Visualisation | What it looks like |
|---|---|
| Ambience | Flowing plasma that never repeats. The default. |
| Alchemy | Ribbons winding around each other. |
| Plenty | A drifting particle flow field. |
| Bars | The classic spectrum. |
| Ocean Mist | Mirrored bars with a drifting swell. |
| Scope | An oscilloscope trace of the waveform. |
| Battery | Spikes radiating from the centre. |
| Fire Storm | A burning spectrum. |
Make the visualiser follow the music
By default the visualisation is an animation: it moves while music plays, but it does not read the sound. On Android you can make it react to the real audio.
In Settings, with Retro mode on, turn on Audio-reactive.
Android asks for the microphone permission. Tap Allow.
Why the microphone?
Android only lets an app read the waveform of the sound being played if it holds the microphone permission, even when that sound is the app's own music. RetroBeat does not record anything: the sound data goes straight to the bars and is thrown away, and nothing leaves your phone.
If you deny the permission, the switch stays off and RetroBeat says Without the microphone permission the bars stay decorative. The Audio-reactive switch does not appear on Linux.