
Resize, crop, rotate and flip
Three tabs change the shape of an image: Resize, Crop and Rotate/Flip. Each keeps the image's format; GIF and BMP images are saved as JPG.
Resize
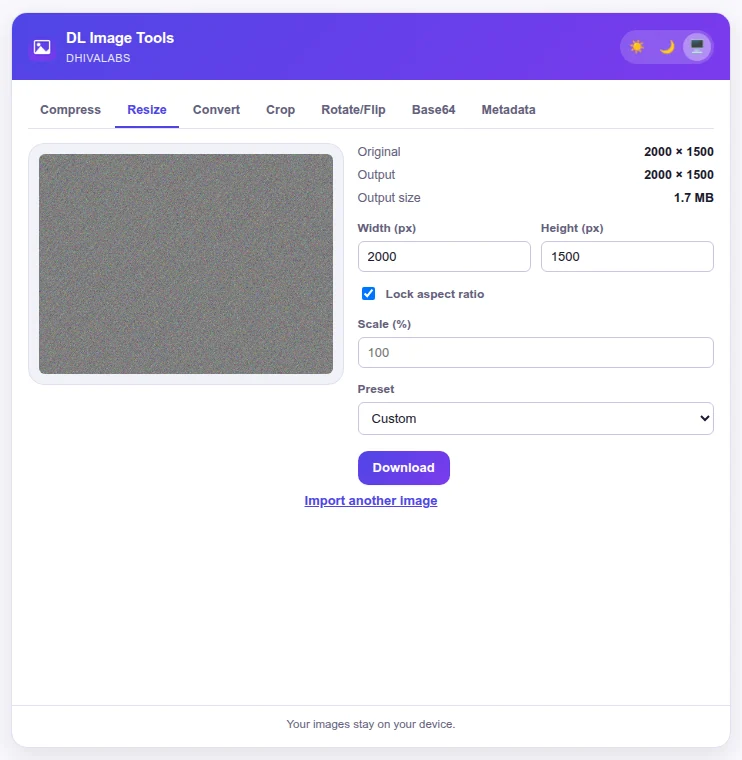
Import an image and open the Resize tab.
Choose the new size in one of three ways:
- Type a Width (px) or Height (px). With Lock aspect ratio on (the default), the other value follows so the image keeps its shape.
- Type a Scale (%), for example
50for half size. - Pick a Preset (see below).
Check Output and Output size. They update as you type.
Select Download.
The download is named after the original with -resized added.
With Lock aspect ratio on and both width and height set, the image is made as large as fits inside that box. Turn the lock off to force exact dimensions; the image is then stretched or squeezed.
Presets
| Preset | Size (px) |
|---|---|
| Instagram Post | 1080 × 1080 |
| YouTube Thumbnail | 1280 × 720 |
| Twitter/X Post | 1600 × 900 |
| Facebook Post | 1200 × 630 |
| LinkedIn Post | 1200 × 627 |
| HD (1280×720) | 1280 × 720 |
| Full HD (1920×1080) | 1920 × 1080 |
| 4K (3840×2160) | 3840 × 2160 |
A preset fills in the width and height. With the lock on, the image fits inside that size without cropping, so a photo that is not the same shape comes out smaller in one direction. To get the exact shape, crop it to the right ratio first (for example 1:1 for an Instagram post), then resize.
Crop
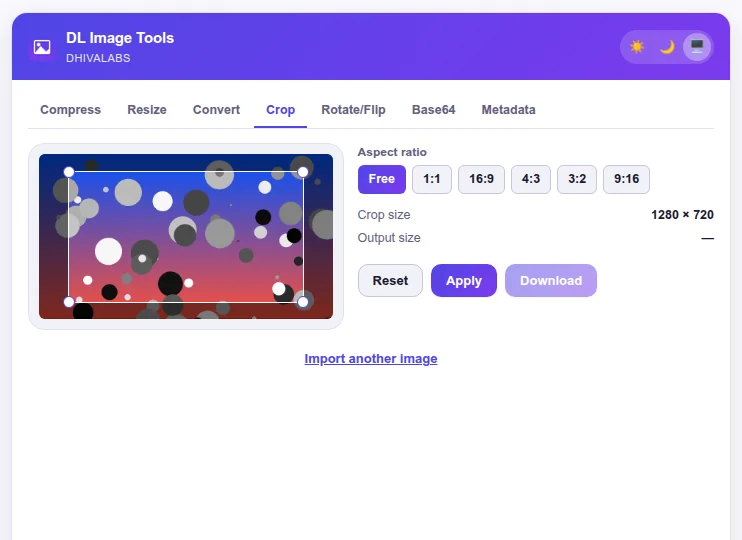
Import an image and open the Crop tab.
Under Aspect ratio, choose Free, 1:1, 16:9, 4:3, 3:2 or 9:16.
Drag the frame to move it, or drag its corner handles to resize it. Crop size shows the size in pixels.
Select Apply. The cropped result and its Output size appear.
Select Download.
The download is named after the original with -cropped added. Reset puts the frame back to its starting place, centred over 80% of the image, with the ratio set to Free.
Rotate and flip
Import an image and open the Rotate/Flip tab.
Select Rotate 90°, Rotate 180° or Rotate 270°, and Flip horizontal or Flip vertical, as needed.
Each button applies to the current result, so you can combine them, for example rotate and then flip. Dimensions and Output size update after each step.
Select Download.
The download is named after the original with -edited added. Reset goes back to the original image.